Install PINGMapper
Get PINGMapper up and running on your computer.


As of v4.0, the PINGMapper installation process has been dramatically improved and simplified compared to the old version
PINGMapper is a software (i.e. package) written in Python. PINGMapper uses a variety of Python packages (NumPy, Pandas, Tensorflow, etc.), or dependencies, that allow you to process Humminbird® sonar recordings and generate a variety of GIS datasets.
You do not need to know Python to use PINGMapper! After issuing a few simple commands, all interactions with PINGMapper will be point-and-click.
PINGMapper uses conda to ensure the installation is configured correctly. Specifically, conda is used to create a virtual environment called ping, a container storing the correct versions of the required dependencies so PINGMapper runs as expected.
Conda comes in several flavors, however, the recommended option for PINGMapper is Miniforge because it is free for anyone to use.
Existing users may have previously used Miniconda or Anaconda. Due to licensing changes, it is recommended that you transition to Miniforge, an open-source alternative.
This tutorial demonstrates the recommended way to install and configure PINGMapper: install Miniforge, then run PINGInstaller, then use PINGWizard to launch and manage the software. PINGInstaller automatically creates the ping environment, installs the appropriate packages from the PING Ecosystem (PINGMapper, PINGWizard, PINGVerter, etc.), and installs other necessary dependencies.
Let’s get started!
Step 1 - Install Miniforge
Go to the Miniforge Website and download the software. Choose the appropriate installer for your computer’s operation system. This tutorial was made on a Windows machine but the process should be similar on other operation systems. Click the file and it will download to your Downloads folder, or you can right-click and select “Save Link As…” and choose an alternative location to save the install file.
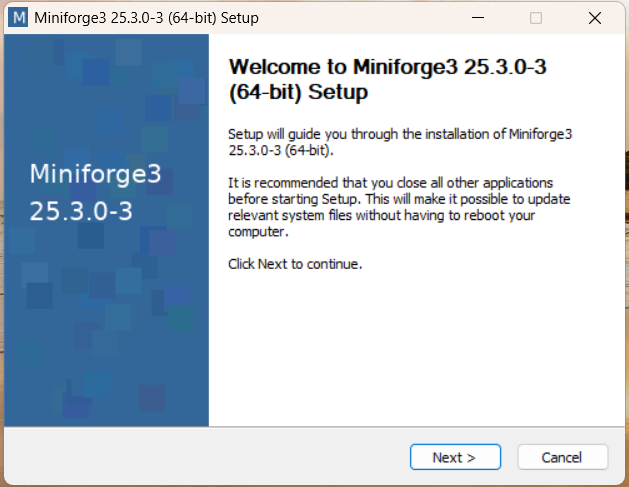
Double click the file to begin the installation file. This will open an installation window:
Click Next and you will see the license agreement:
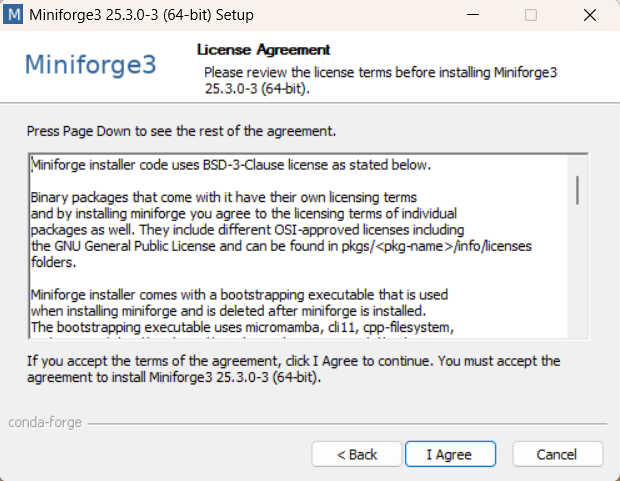
After reviewing the license agreement, you must select I Agree to continue with the installation. After you agree, you will have an option to install Miniforge for Just Me or All Users.
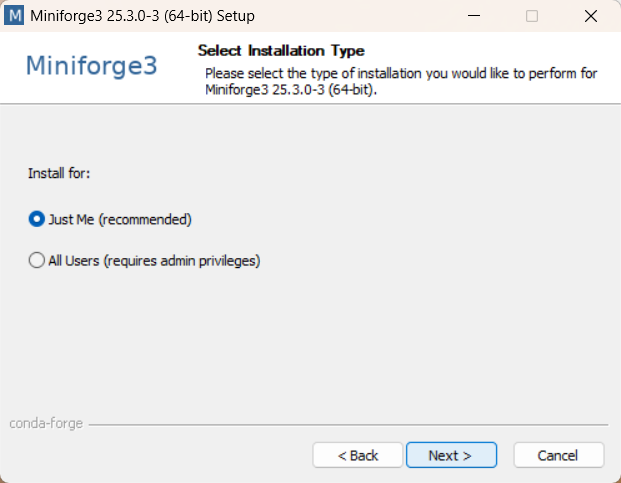
You want to install Miniforge in your user folder so that you have the necessary permissions to install the Python dependencies, so select Just Me and click Next.
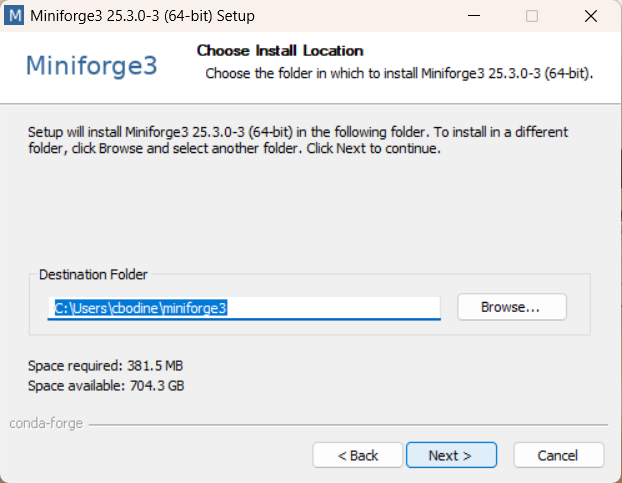
Accept the default installation location and click Next. This will open the Advanced Installation Options window.
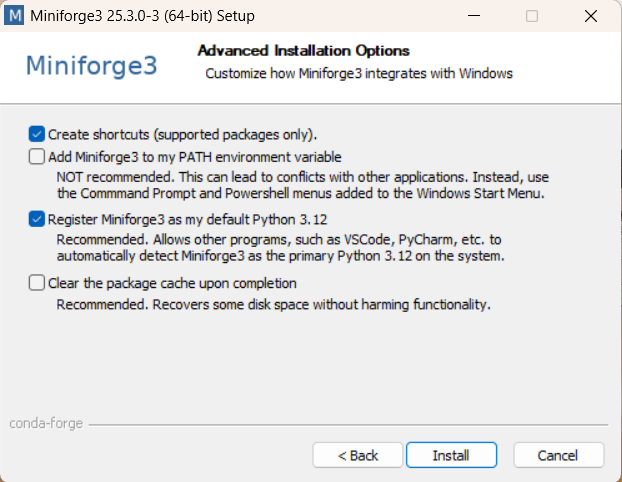
We will accept the default options, shown above, and click Next. Once installation is complete, you will see the following window indicating Miniforge was successfully installed:
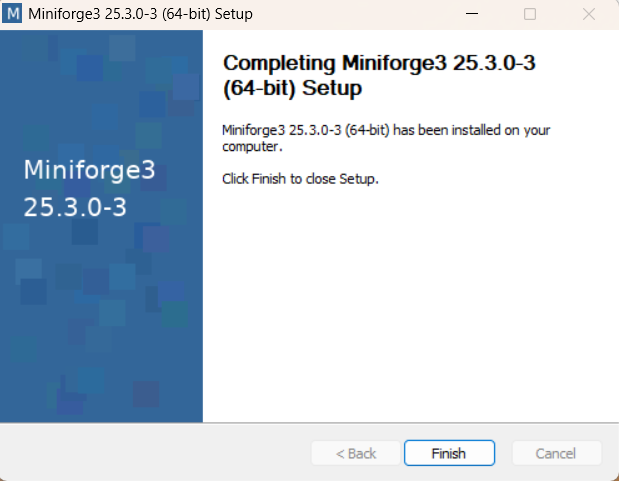
Click Finish to close the window.
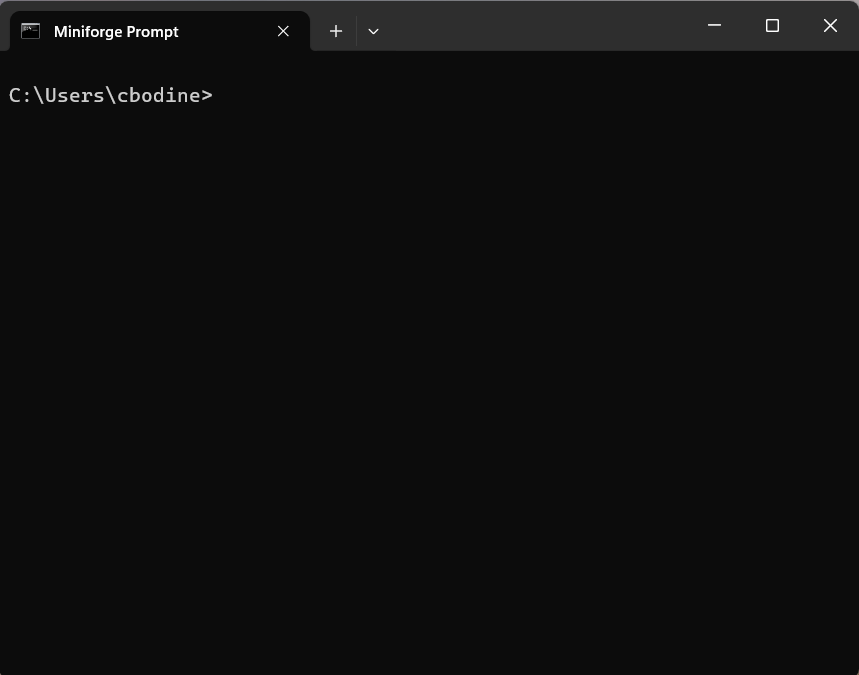
Step 2 - Open Miniforge Prompt
Next, open the Miniforge command prompt so you can run the installer commands. If you want to gain some familiarity with navigating with the prompt, you can watch this video:
On Windows, click the start button and scroll through your installed applications until you find Miniforge Prompt.

Click the icon to open the prompt.
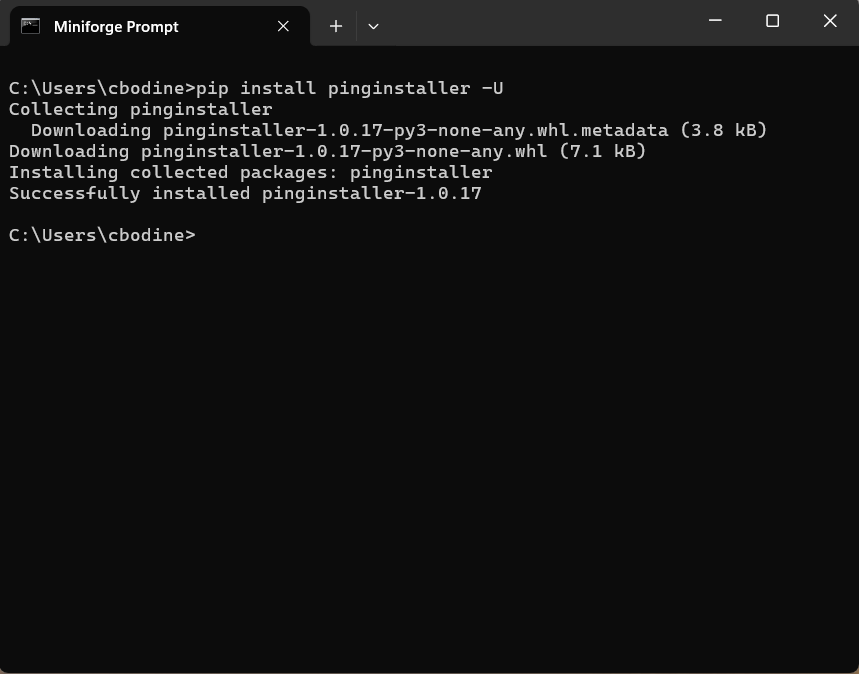
Step 3 - Install PINGInstaller
Installing PINGInstaller in the
baseenvironment will only download the PINGInstaller package and make no further changes.
PINGInstaller is the recommended tool for installing and setting up PINGMapper. Install PINGInstaller with the following command and press Enter:
pip install pinginstaller -U
Step 4 - Run PINGInstaller
By running PINGInstaller, a new conda environment called ping will be created, and the required dependencies for the PING ecosystem will be installed into ping. Add the following command and press Enter:
python -m pinginstaller
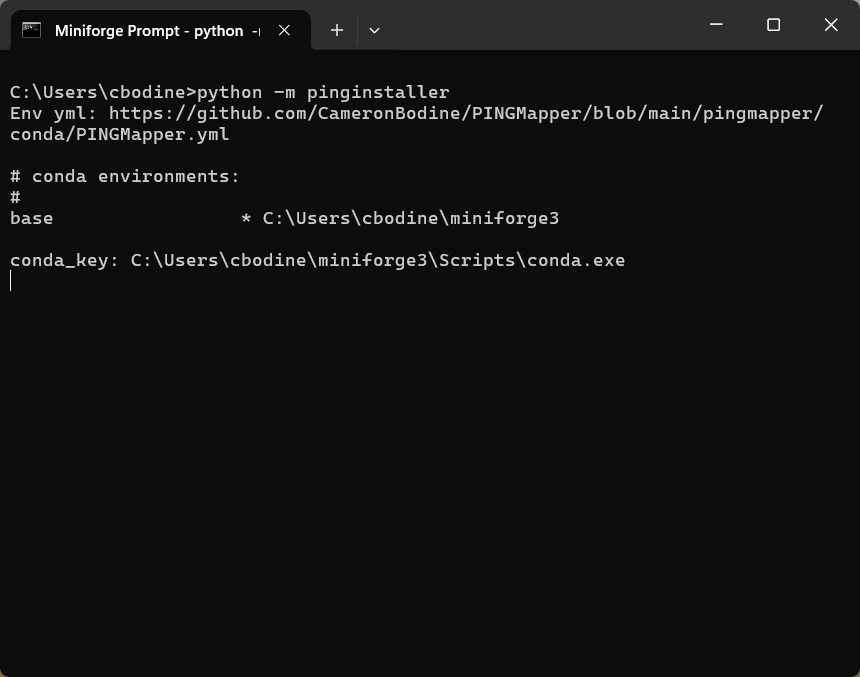
Installation will take approximately 5-10 minutes. You should see something similar to:

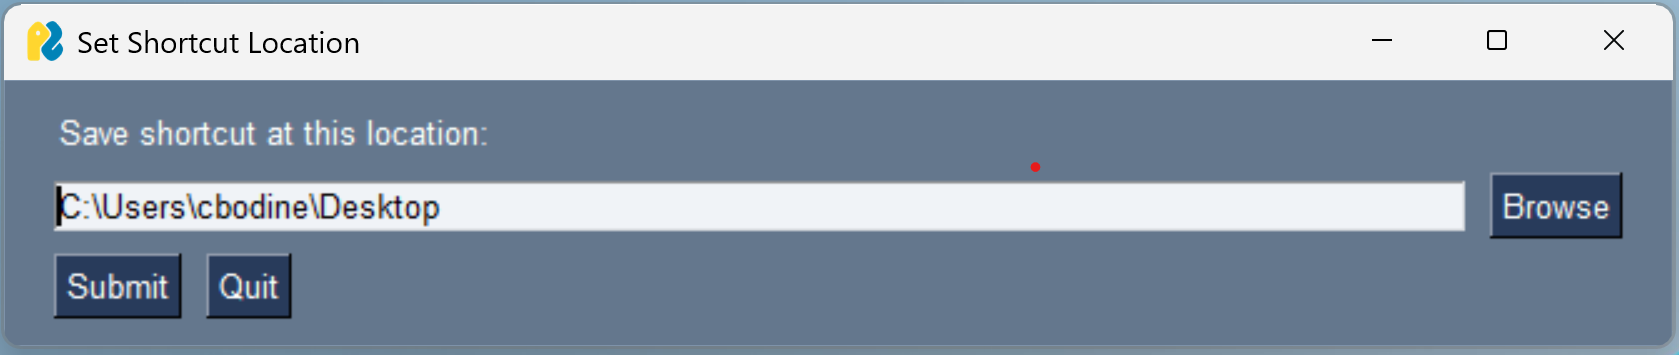
At the end of the install process, a window will prompt you where to save the bat or sh shortcut file used to launch PINGWizard. Browse to the desired location and click Submit.
That’s It!
PINGMapper is now ready to go. The recommended next step is to launch PINGWizard, the point-and-click interface for testing, updating, and processing data with PINGMapper.